
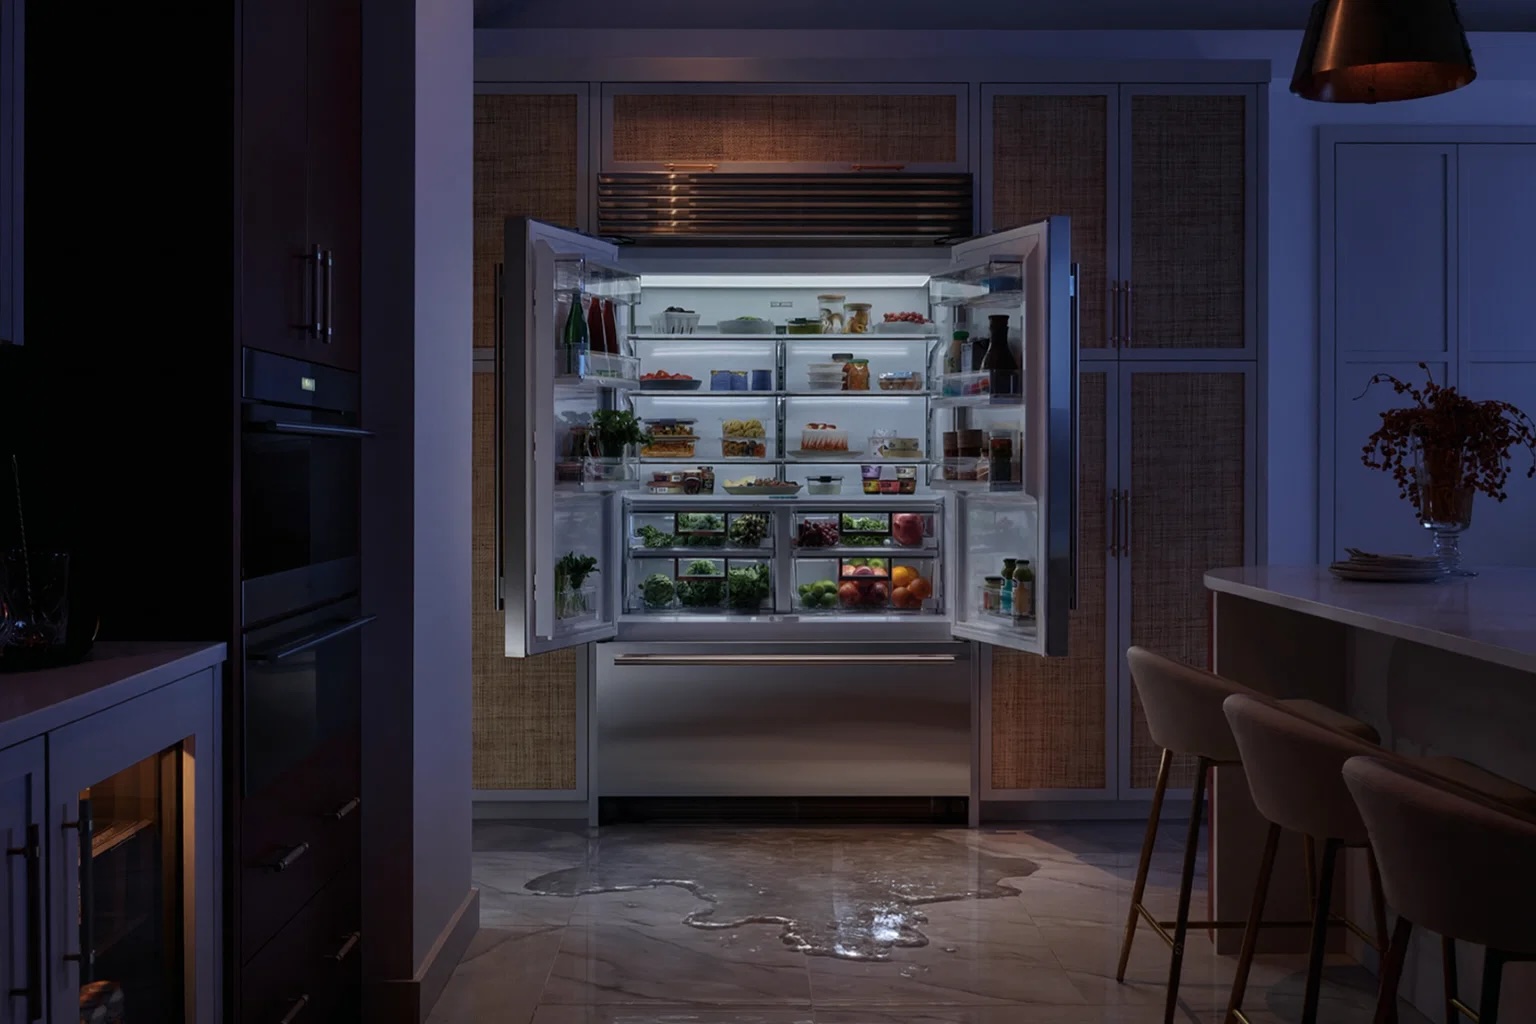
Water pooling under or inside your Sub-Zero refrigerator signals one of four failures: clogged drain tube, compromised door seal, overflowing drain pan, or damaged water line. Each creates distinct evidence pointing to the source.
Full-size models—including the BI-36, BI-42, BI-48, Classic series (CL3650, CL4250, CL4850), PRO series (PRO3650, PRO4850), and Designer units—share similar drainage architecture. Diagnosis follows consistent patterns across 36-inch, 42-inch, and 48-inch configurations.
This guide explains how to fix water leak in fridge issues, locate leak sources, and determine which repairs are DIY-appropriate versus those requiring professional service. Most refrigerator water leak problems stem from maintenance neglect. Clearing a clogged drain tube costs nothing. Ignoring it until the drain pan cracks runs $200-$400.
Diagnostic Framework: Three Leak Locations
Water Location | Primary Cause | Urgency |
Floor under unit | Drain pan failure, water line leak | High |
Inside under crispers | Clogged drain tube | Medium |
Door frame when opening | Drain backup, seal failure | Low-Medium |
Behind unit at wall | Water line connection leak | Immediate |
External Pooling
Water beneath the refrigerator originates from either drain pan overflow or supply line failure—what many describe as full size leak from bottom situations.
Drain pan issues: Puddles of 1-2 cups after defrost cycles, gradual accumulation, often with musty odor. Creates a condensation puddle under the unit.
Water line leaks: Steady accumulation exceeding 1 pint within hours, continuous dripping, no correlation with defrost cycles.
Models particularly affected: older Classic series units (511, 550, 590, 661) with original water lines at 15-20 years. These older models often present concurrent cooling issues—511 not cooling, 550 not cooling, 590 not cooling, or 661 not cooling problems alongside water leaks indicate multiple aging systems requiring attention. The CL4250 and PRO4850 models experience higher thermal stress on drain pans.
Internal Water Pooling
Remove crisper drawers to access the compartment floor.
Standing water under crispers: Clogged or frozen drain tube. Water cannot exit, accumulating at the lowest point. Most common cause of BI-36 water pooling inside and CL4850 internal water pooling complaints.
Ice on rear wall: Frozen drain tube. Defrost water refreezes, then melts during door openings. Common when the temperature is set below 38°F. This refrigerator not draining properly affects all full-size models.
Wall condensation: Refrigerator door seal failure allowing humid air infiltration. The system cannot handle excess moisture load.
Door-Related Leaking
Test procedure: Wipe gasket area dry. Close the door for 2 hours without opening. If the gasket area shows moisture but no water pooled inside, the seal fails. If water pooled inside while the gasket stayed dry, the drain is backed up.
The CL3650 door seal leak frequently mimics gasket failure but represents drain backup—a $0 fix versus $300 gasket replacement. This designer fridge water leak troubleshooting principle applies across all integrated models.
TECHNICAL NOTE: On BI-42 and PRO3650 models, verify drain function before replacing seals. Gasket replacement is unnecessary in 40% of door dripping cases—the actual cause is drain obstruction, not seal failure.
Drain Tube Obstruction: Primary Failure Mode
Blocked drain tubes account for 80% of full-size refrigerator leaking water calls. Understanding classic series water leak fix protocols and PRO series leaking water patterns helps identify issues quickly.
System Operation
Sub-Zero evaporator coils accumulate frost during cooling. Automatic defrost melts this frost. Water drips into the rear wall trough, flows through the drain tube to drain the pan beneath the unit, then evaporates. Interruption creates a refrigerator not draining properly, affecting the BI-48 drainage problems and similar failures.
What Clogs Drains
Blockage Type | Development Timeline | Affected Models |
Organic debris (lettuce, bread crumbs) | 6-18 months | All models |
Ice blockage | Single cycle | Units below 38°F |
Mineral deposits (Atlanta water 120-180 ppm TDS) | 3-7 years | Older: 511, 550, 590, 661 |
Biofilm | 1-3 years | All in humid climates |
The 511, 550, 590, and 661 models have logged substantially more hours. A 15-year-old 590 has completed 5,000+ defrost cycles. Accumulated mineral buildup is inevitable. When these units show both cooling and drainage issues—like 700BR not cooling combined with water leaks—multiple systems need attention.
Drain Clearing (200-600 Series)
Materials: Turkey baster, bleach (2 capfuls), warm water (1 quart), towels, dish soap, compressed air (optional).
Steps:
Power off refrigerator
Remove crisper shelf and drawers
Extract standing water with turkey baster
Check for ice—if present, leave OFF 2-3 hours to defrost
Mix 1 quart warm water + 2 caps bleach + few drops soap
Slowly pour solution into drain with turkey baster—should drain to pan below
Use short air bursts across opening (not into it) if blockage persists
Rinse with clean warm water 2-3 times
Remove kick plate, extract and clean drain pan to prevent fridge drain pan overflowing
Reassemble and monitor 24 hours
This process helps repair water leaks in accessible models.
Critical issue: Never insert wires or rigid tools into the drain tube. Puncture voids warranty and creates leaks requiring sealed system repair.
Require technician service:
Classic series: CL3650, CL4250, CL4850
Designer series: All IT, IC, ID models
PRO series: PRO3650, PRO4850, 648PRO
700 series (including 700BR)
400 series wine units
Why: Drain access requires removing sealed components, risk of refrigeration system damage, warranty preservation, specialized tooling required. Classic series water leak fix procedures differ substantially from standard models due to integrated construction.
Cost: $150-$250 including inspection, cleaning, pan service, 30-day guarantee.
Door Seal Failures
Gaskets degrade gradually. Material cracks, loses elasticity, fails to seal. Warm Atlanta air infiltrates. Condensation forms. Water accumulates—a common designer fridge water leak troubleshooting scenario.
Testing Seal Integrity
Paper test: Close door on dollar bill. Pull slowly. Should resist around the entire perimeter. Easy extraction indicates local failure.
Visual inspection: Look for cracks, tears, gasket separation, hardened sections, visible gaps.
Condensation pattern: Moisture consistently in the same spot indicates air infiltration through failed seals there.
What Causes Refrigerator Door Seal Failure
Age: 8-12 years typical lifespan
Heat: Atlanta summers (32-38°C) accelerate embrittlement by 30%
Chemicals: Harsh cleaners degrade polymers
Stress: Pulling hard, kids hanging on doors
Contamination: Food residue prevents compression
Models like 511 not cooling and 550 not cooling often have 15-20-year-old seals that failed years ago. The refrigerator door seal failure creates multiple problems—water leaks, temperature instability, and excessive energy consumption.
Replacement
DIY: $150-$250 part, 30-45 minutes, requires correct model-specific gasket.
Professional: $300-$450 total. Includes guaranteed fit, door alignment check, hinge inspection, 90-day warranty.
Recommended professional installation for built-in units where alignment affects cabinetry integration. When you see 42 inch water pooling or 36 inch water leak issues combined with door problems, seal replacement often resolves both.
MAINTENANCE: Monthly cleaning with warm soap solution extends gasket life 2-3 years. Zero cost, prevents $300-$450 replacement.
Drain Pan and Water Line Issues
Drain Pan Problems
Pan collects defrost water for evaporation. Cracking or overflow creates condensation puddle under the unit. The fridge drain pan overflowing scenario is particularly common after clearing chronic drain clogs.
Overflow causes:
Sudden large drainage after clearing chronic clog (gallons into pint-capacity pan)
Heater element failure (reduces evaporation 60-70%)
High humidity (Atlanta 70%+ common)
Unit not level (water pools one side)
Structural failure: Age (10-15 years), chemical damage, impact, freeze-thaw cycles.
Replacement: $80-$150 part, $100-$150 labor. Total: $180-$300.
Water Line Leaks
Supply lines for ice/water features can fail, creating PRO series leaking water and similar issues.
Identification:
Continuous dripping (not intermittent like drain issues)
More than 1 pint within hours
Behind unit at connections
Occurs regardless of door openings
Often presents as BI-42 water leak behind unit pattern
Common failures:
Inlet valve: Sediment damage, failed seals, corrosion. $200-$350 replacement.
Connections: Loose fittings, failed ferrules. Sometimes it just needs tightening.
Cracked lines: Physical damage, age (10-15 years plastic, 20+ copper). The 48 inch drain clog issues sometimes coincide with water line problems in larger models.
Models 661, 550, 590 often have 15-20-year-old plastic lines beyond service life. The 700BR uses copper or braided stainless with longer life.
Emergency response: Shut water valve behind fridge immediately. Then call for service to properly repair water leaks in supply systems.
Maintenance Schedule
Every 3 months: Clean seals, check for water under crispers, verify drain pan dry. Cost: $0
Every 6 months: Flush drain (200-600 series), clean coils, inspect water connections, test seals. Cost: $0-$180
Annually: Professional comprehensive service—drain system, seals, water lines, calibration. Cost: $150-$200
Prevention vs. Repair: Annual $150-$200 maintenance prevents $500-$2,000+ in repairs plus floor damage. This preventive approach is essential for classic series water leak fix scenarios and all PRO series leaking water situations.
Atlanta Climate Factors
Summer (June-Sept): 40-60% more condensation, monthly drain checks recommended
Spring: Pollen increases debris, clean coils March-April
Hurricane season: Know valve location, empty pan after power loss
When to Call Professionals
Immediate (same-day):
Water exceeding cleanup capacity
Supply line leak confirmed
Damage spreading to cabinets/flooring
Electrical safety concerns
8+ liters accumulated
CL4250 water on floor spreading rapidly
Within week:
Failed seal with minor leak
Recurring drain clogs
Cracked pan, slow leak
Diagnostic uncertainty
Classic, Designer, PRO, or 700 series with any leak
PRO3650 water leak repair needs
PRO4850 drainage issues
Service includes: Model-specific parts (BI-36, BI-42, BI-48 all series), drainage access tools, pressure testing equipment, genuine Sub-Zero components, leak detection, floor protection.
The Bottom Line
Most Sub-Zero water leaks trace to four preventable causes: clogged drain tubes, failed door seals, drain pan issues, or water line failures. Proper diagnosis is essential—what looks like an expensive gasket problem on your PRO3650 or BI-42 is often a simple drain clog costing nothing to fix.
For 200-600 series models, drain maintenance is straightforward owner-level service. Classic, Designer, PRO, and 700 series units require professional service due to sealed access and warranty considerations. Understanding how to fix water leak in fridge situations starts with identifying whether you have an accessible model or one requiring technician expertise.
Regular maintenance—quarterly seal cleaning, semi-annual drain flushing, and annual professional inspection—costs $150-$200 yearly but prevents the majority of full-size refrigerator leaking water emergencies. In Atlanta’s humid climate, this preventive approach matters more than in dry regions, particularly for preventing fridge drain pan overflowing situations.
When water appears, identify the source first. Check inside under crispers, around the door gasket, beneath the unit, and behind at water connections. Each location points to a specific failure with its own solution. Don’t replace expensive parts until you’ve confirmed the actual problem through proper designer fridge water leak troubleshooting methods.
Technical Q&A
My refrigerator not draining properly—is it a clog or a serious failure?
Clear visible water. Power off 3 hours. Power on, wait 24 hours. If water returns, try cleaning for your model. If cleaning fails or you have Classic/Designer/PRO, need professional diagnosis. Could be frozen evaporator, tube damage, or internal architecture failure.
Can I use wire to clear the drain?
No. Never insert wires, coat hangers, or rigid tools. Risk puncture, void warranty, create sealed system leak ($800-$1,200 repair). Use only compressed air (across opening) or liquid flushing.
Why does my BI-36 water pooling inside recur after cleaning?
Three causes:
(1) Deeper blockage remains,
(2) Mineral buildup narrows the tube,
(3) Temperature below 38°F causes refreezing.
Check temperature first, this is the simplest step.
